When I looked at some static banners and flags in my world scenery, it just felt bad. What I wanted was fabrics that look somehow lively, as if they were moved by wind. So I created a shader for that. As a bonus, I also wanted an optional logo or emblem to be rendered on it, which would also move synchronously with the fabric as if it was part of the fabric – but rendering the logo did not neccessarily have to be part of the shader.

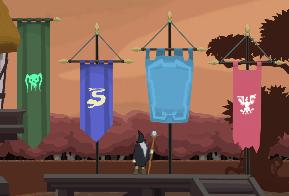
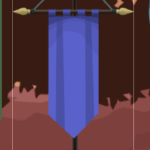
Small preview – How it will look
How to achieve it
The texture will have to be distorted in a certain way. Meaning: where a pixel would’ve originally be drawn, another pixel will have to be drawn.
What we want
- A dead zone in the top in which the flag is hung up – no distortion is wanted there
- The zone beneath – the waving flag
- Upper part of the flag is attached and should move less – 0% movement there
- Lower part of the flag is waving freely – 100% movement there
How to achieve it?
- UV coordinate would be important
- printing the pixel below the current pixel means: the current pixel moved upwards
- with this principle, we can simulate movement
- sinus and cosinus are wave functions, returning always real values between -1 and 1
- Time would be important
- can be processed with sinus or cosinus to compute an offset to create a distortion that looks like a wave
- linear interpolation gets us a multiplier of the distortion strength depending on y (or V)
- starting at y position below holding pole, then growing linearly to 100%
- using again linear interpolation to transition between original UV coordinates and distorted UV coordinates
- as transition value, we use the distortion multiplier computed in the step before
- that gives us the final UV coordinate to draw from
And for the bonus: The symbol is simply combined in advance, during some bitmap processing. Colorization takes place in this moment, too. For printing the symbol onto the flag, alpha composition is used. Since this is not part of the shader, it will not be covered here in detail.
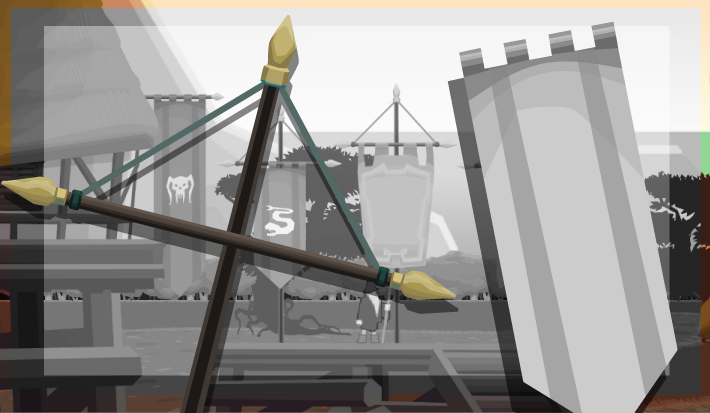
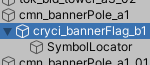
The game object structure
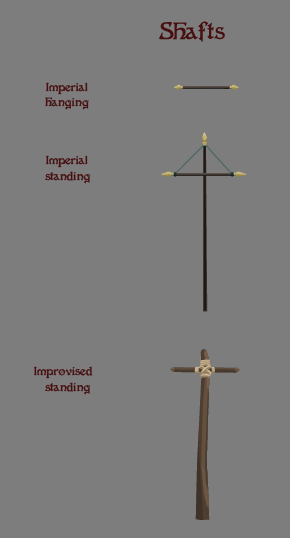
It starts with the separation of sprites for textures and poles. Emblem sprites would be seperate too, if they shall be replacable at runtime. As mentioned before, in this case, they are.
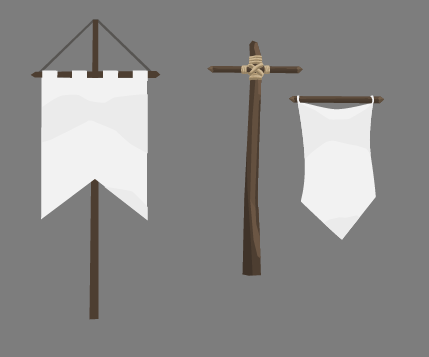
The total prefab we create consists of a game object for the pole; within it there is a game object for the banner and within the latter there is a game object that acts as locator for the emblem (or “symbol”) – that one just carries the information at which position the emblem has to be added, and with which scale.
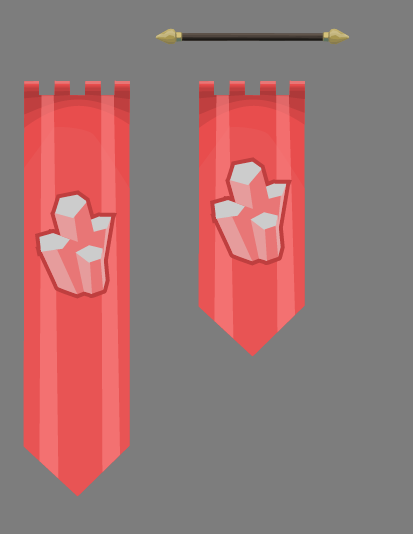
The banner texture
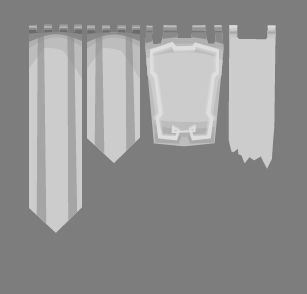
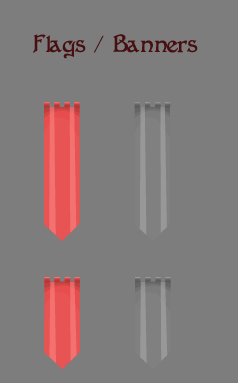
Since the flag fabric color may vary a lot – depending on the faction that owns the flag or banner, its texture is monochrome and held in lighter gray tones. The actually wanted color will be set in the Unity editor through the properties of the SpriteRenderer. In the graphical tool however, it is designed for with a color in mind and later the colors are changed. The disadvantage of this strategy is: only one color can be used in the banner. Plus: different colors may require another contrast, since the perceived lightness differs among colors. With that said, our approach may be artistically limiting, but overall sufficient for the moment.

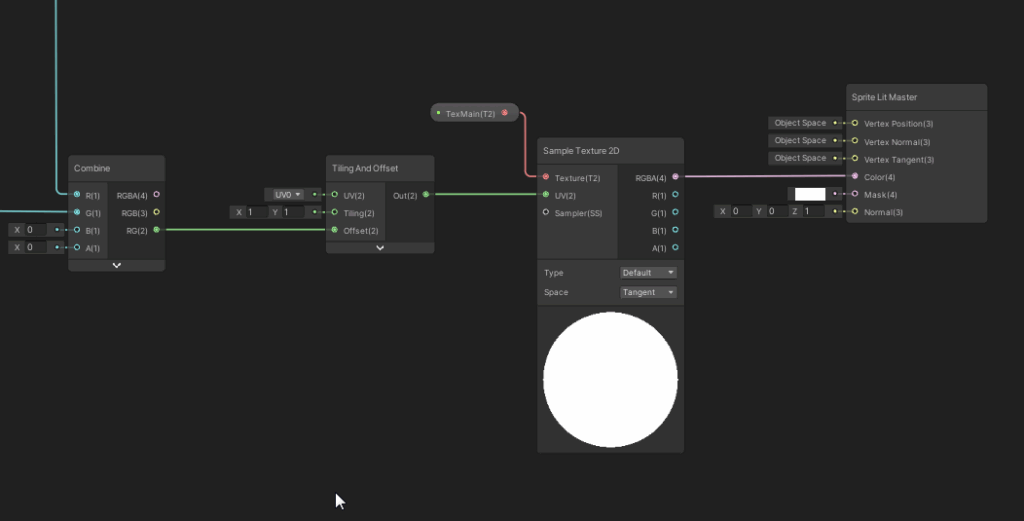
The Shader
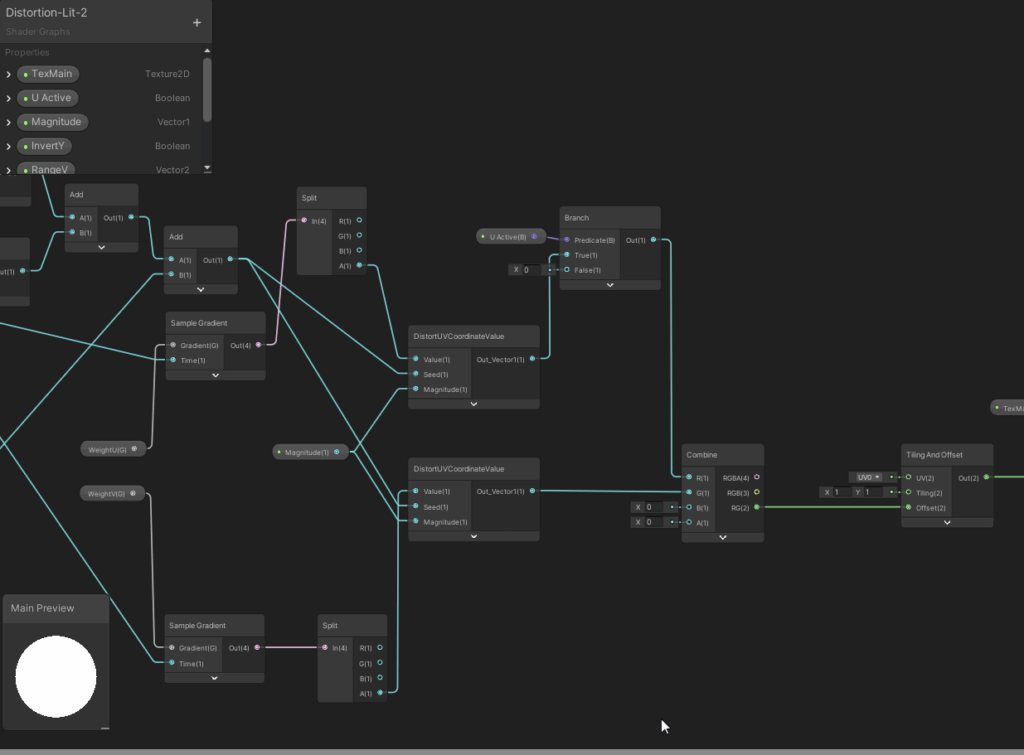
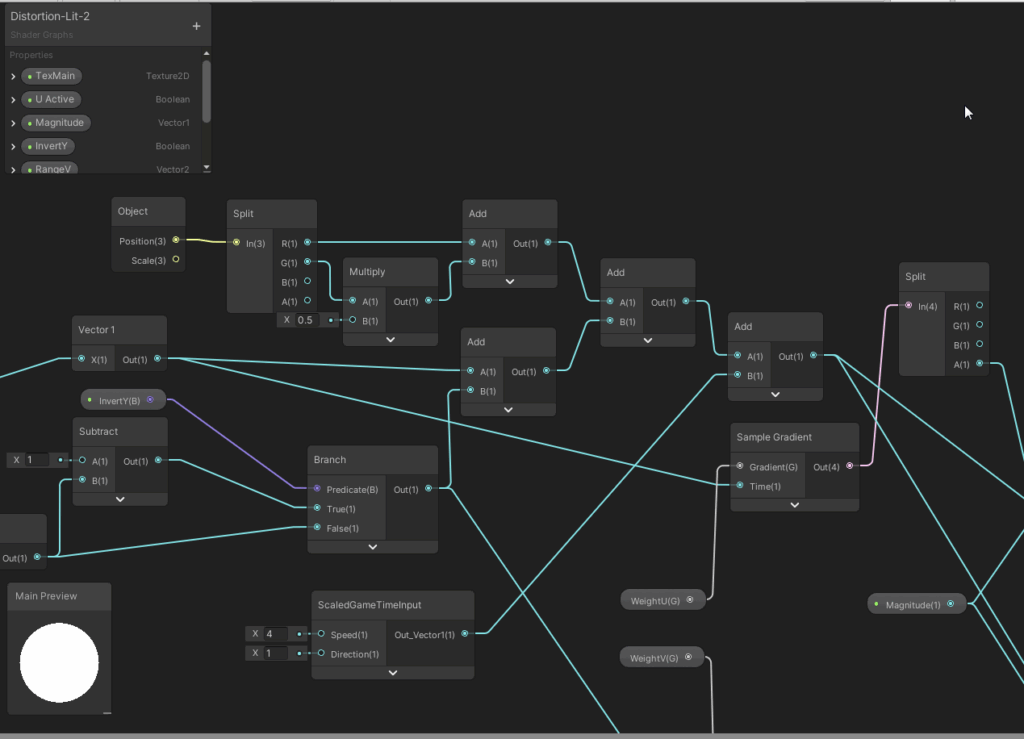
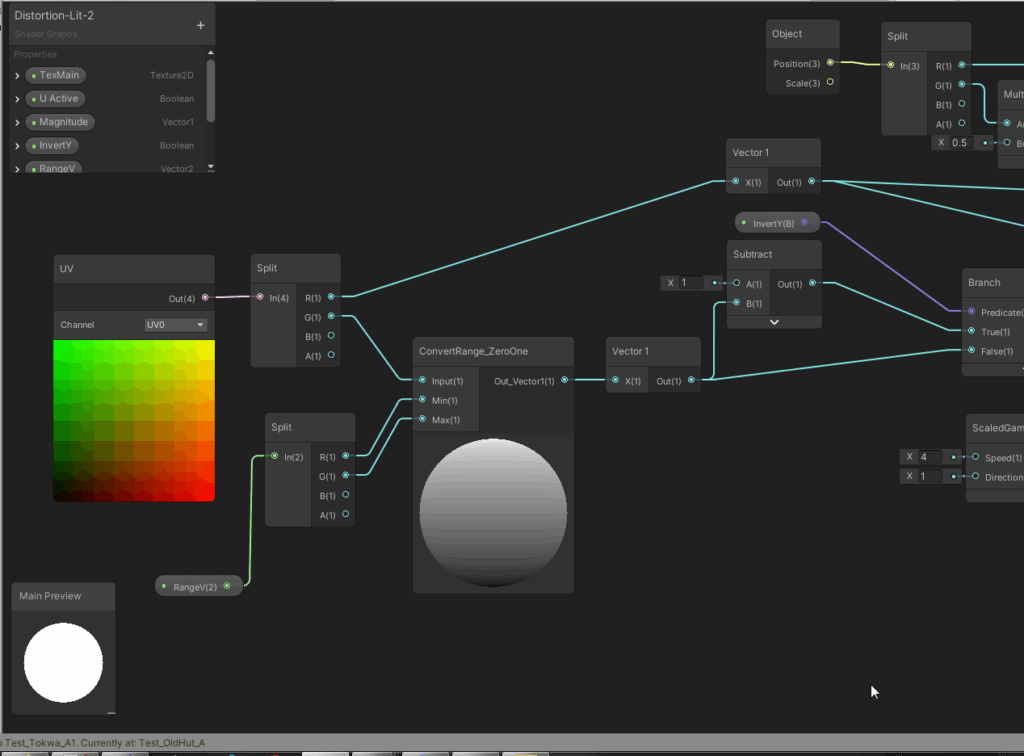
Sub graphs
At first, take a look at these sub graphs, which will be used in the ovarall shader graph. They will compute…
- A) the multiplier of weight of the distortion, depending on the y coordinate (or proximity to of the pixel t othe pole) and
- B) the current distorted pixel coordinate, based on original value, amplitude and application time (seed)
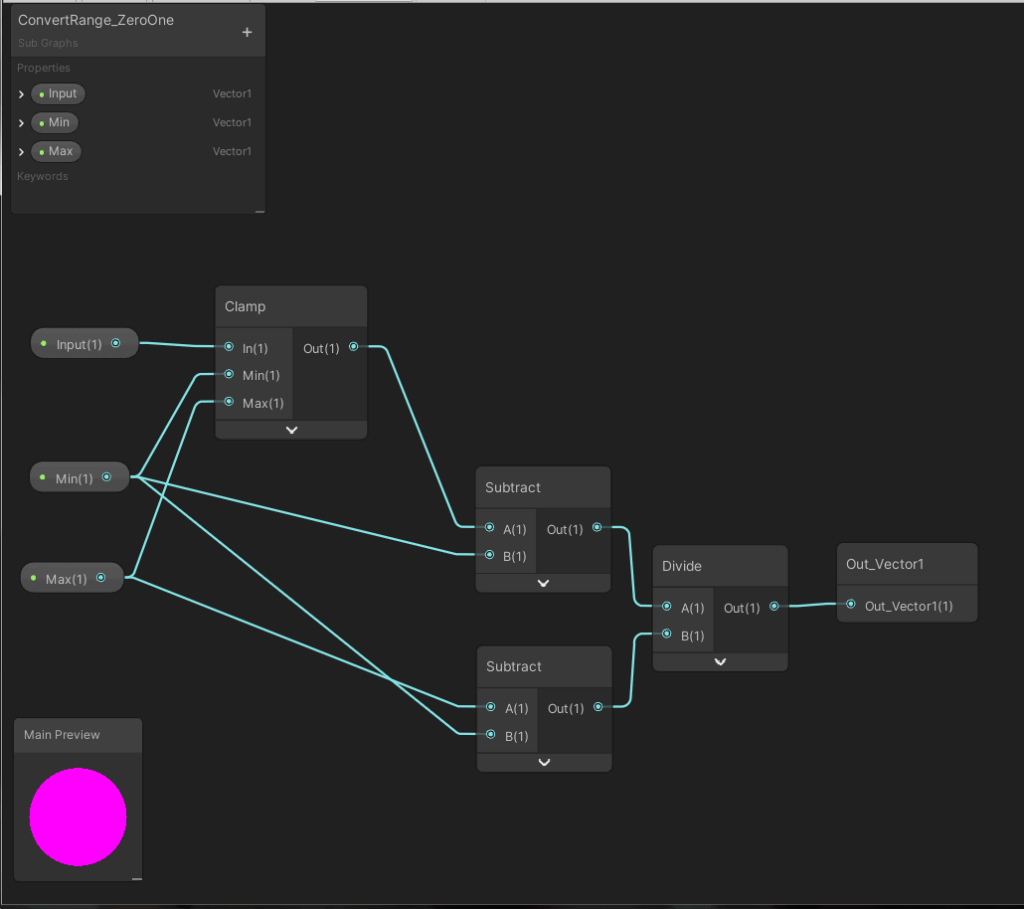
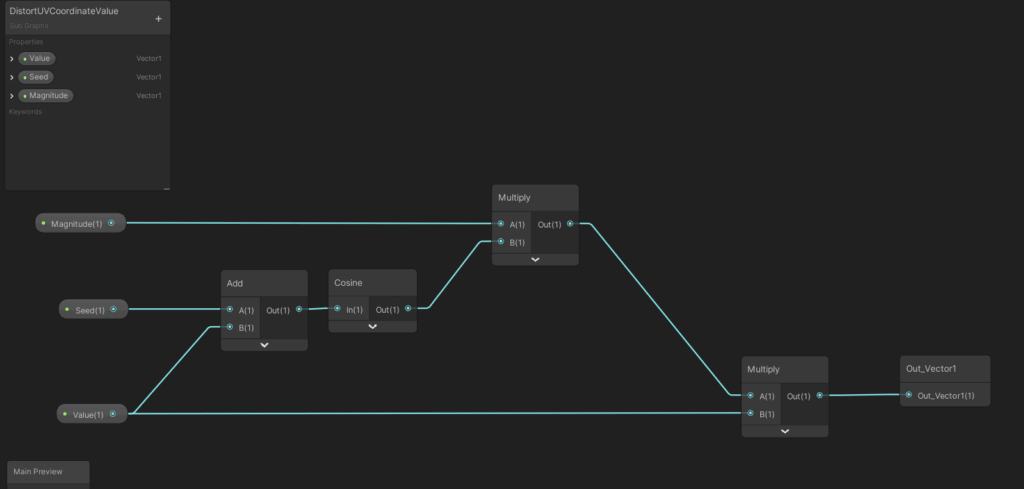
It is a good idea to exclude repeating tasks in a shader graph into shader sub graphs. That basically comes with all advantages (and disadvantages) of excluding lines of code from one method/function into other methods/functions. In any case, the main graph is better readable now.
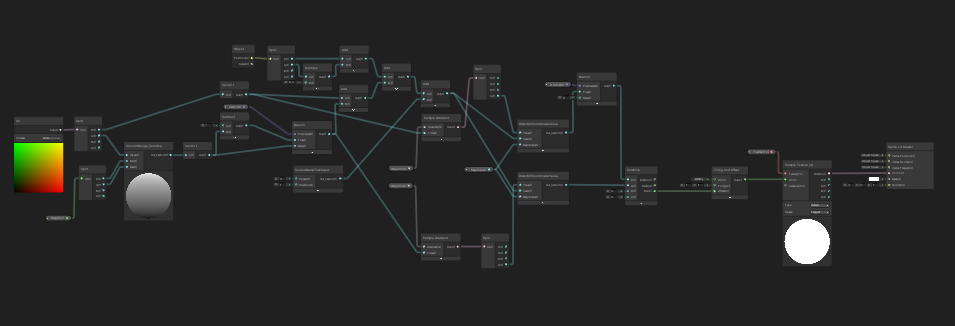
The main graph
The next graphics show the full main shader graph. We dive into the details afterwards. It might be a good idea to at first take a look at the shader properties, then starting from the end of the graph and reading to the left until we reach the start to understand which values are influencing the final outcome. While I revised the graph for this article, I found out that the computation of the U value offset would not work – I mean about 4 nodes in the mid top section of the graph. Luckily, the U offset was not needed to create the waving effect. The computation of the V offset however is absolutely cruicial for this shader to work.
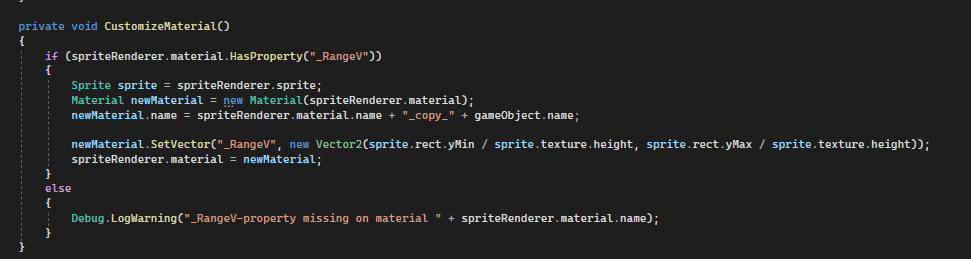
Initialization from MonoBehaviours / C#
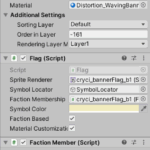
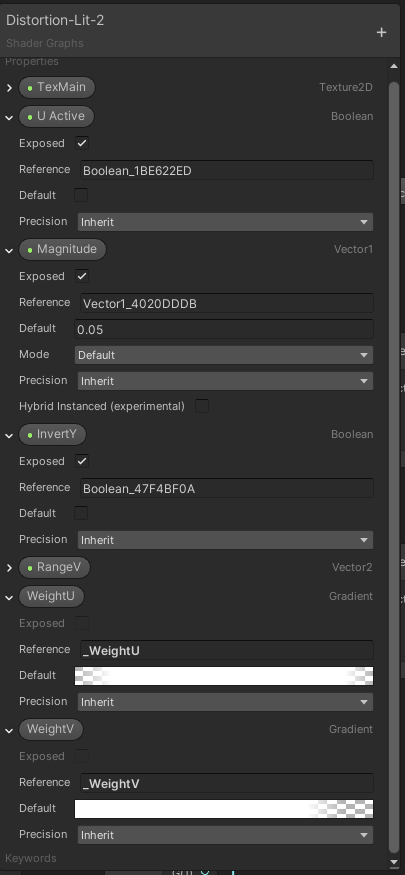
The Flag behaviour will analyze the material of the spriteRenderer, which has the banner fabric graphic linked, and if it finds that has the proper shader property “_RangeV”, it will copy the material and initialize that property with the required data from the linked sprite. The rest of the properties needs no customization.
What the shader adds to the project
The flags and banners look alive now. It may not be perfect, and magical wind effects would have not effect on that shader animation. But at the current state this would also not be needed.
Image sources: Yves Scherdin, Screenshots/Exports from UnityEditor/VisualStudio (2025)
Video source: Yves Scherdin, from DevLog playlist of Spiele-oder-so youtube channel (2025)